Welcome to a deep dive into the SuperTeacher Students Experience and Flow! In this blog, we’ll explore how the platform is designed specifically for independent educators, streamlining the process for both teachers and students while ensuring a smooth and engaging learning journey.
Introduction to SuperTeacher
SuperTeacher is designed specifically for independent educators. Unlike traditional marketplaces, it eliminates the middleman, allowing you to connect directly with your students. This means no competition—just you and your private students, all while utilizing a powerful web-based tool that streamlines your online educational business, tailor-made to suit your needs as we ourselves are independent educators. 😉
Why Choose SuperTeacher?
- No Middleman: You retain full control over your pricing and offerings.
- Time-Saving Features: Automate administrative tasks so you can focus on teaching.
- User-Friendly Interface: Both educators and students will find it easy to navigate.
- Direct Student Interaction: Build meaningful relationships without the interference of a platform.
Setting Up Your Teacher Page
Setting up your SuperTeacher page is a breeze. After creating your account, you’ll want to fill in your profile details, including your bio and the classes or products you offer. Make sure to add your payout method and link your preferred meeting room for classes.
Steps to Set Up Your Teacher Page
- Log into your SuperTeacher account.
- Navigate to your profile settings.
- Fill out your bio and upload a professional photo (all optional).
- Add the classes or products you’ll be offering.
- Connect your payment method and meeting room.
For more guidance on each step, check out our Five-Minute Friday video bites and you will get set in no time! Now let’s get back into your student’s flow.
Sharing Your Unique Teacher URL
Once your teacher page is set up, it’s time to share your unique URL with your students. This link is your gateway to connecting with potential learners and makes it easy for them to find you. Not only that, but it’s also a lead collector – upon using your unique URL, your students and prospects get listed into your Students List automatically, wheather or not they book classes, purchase something or reach out to you in any way – you are already a step ahead and from there on you can message them using SuperTeacher Messenger, offer an onboarding call, book a class or gift a resource – the sky is the limit!
How to Share Your Teacher URL
Click on your teacher name, go to “My Profile,” and look for the button that says “View / Share My Profile” right next to your profile photo. Copy this link and share it via social media, email, or any other marketing channels you prefer.
Student Experience: First Impressions
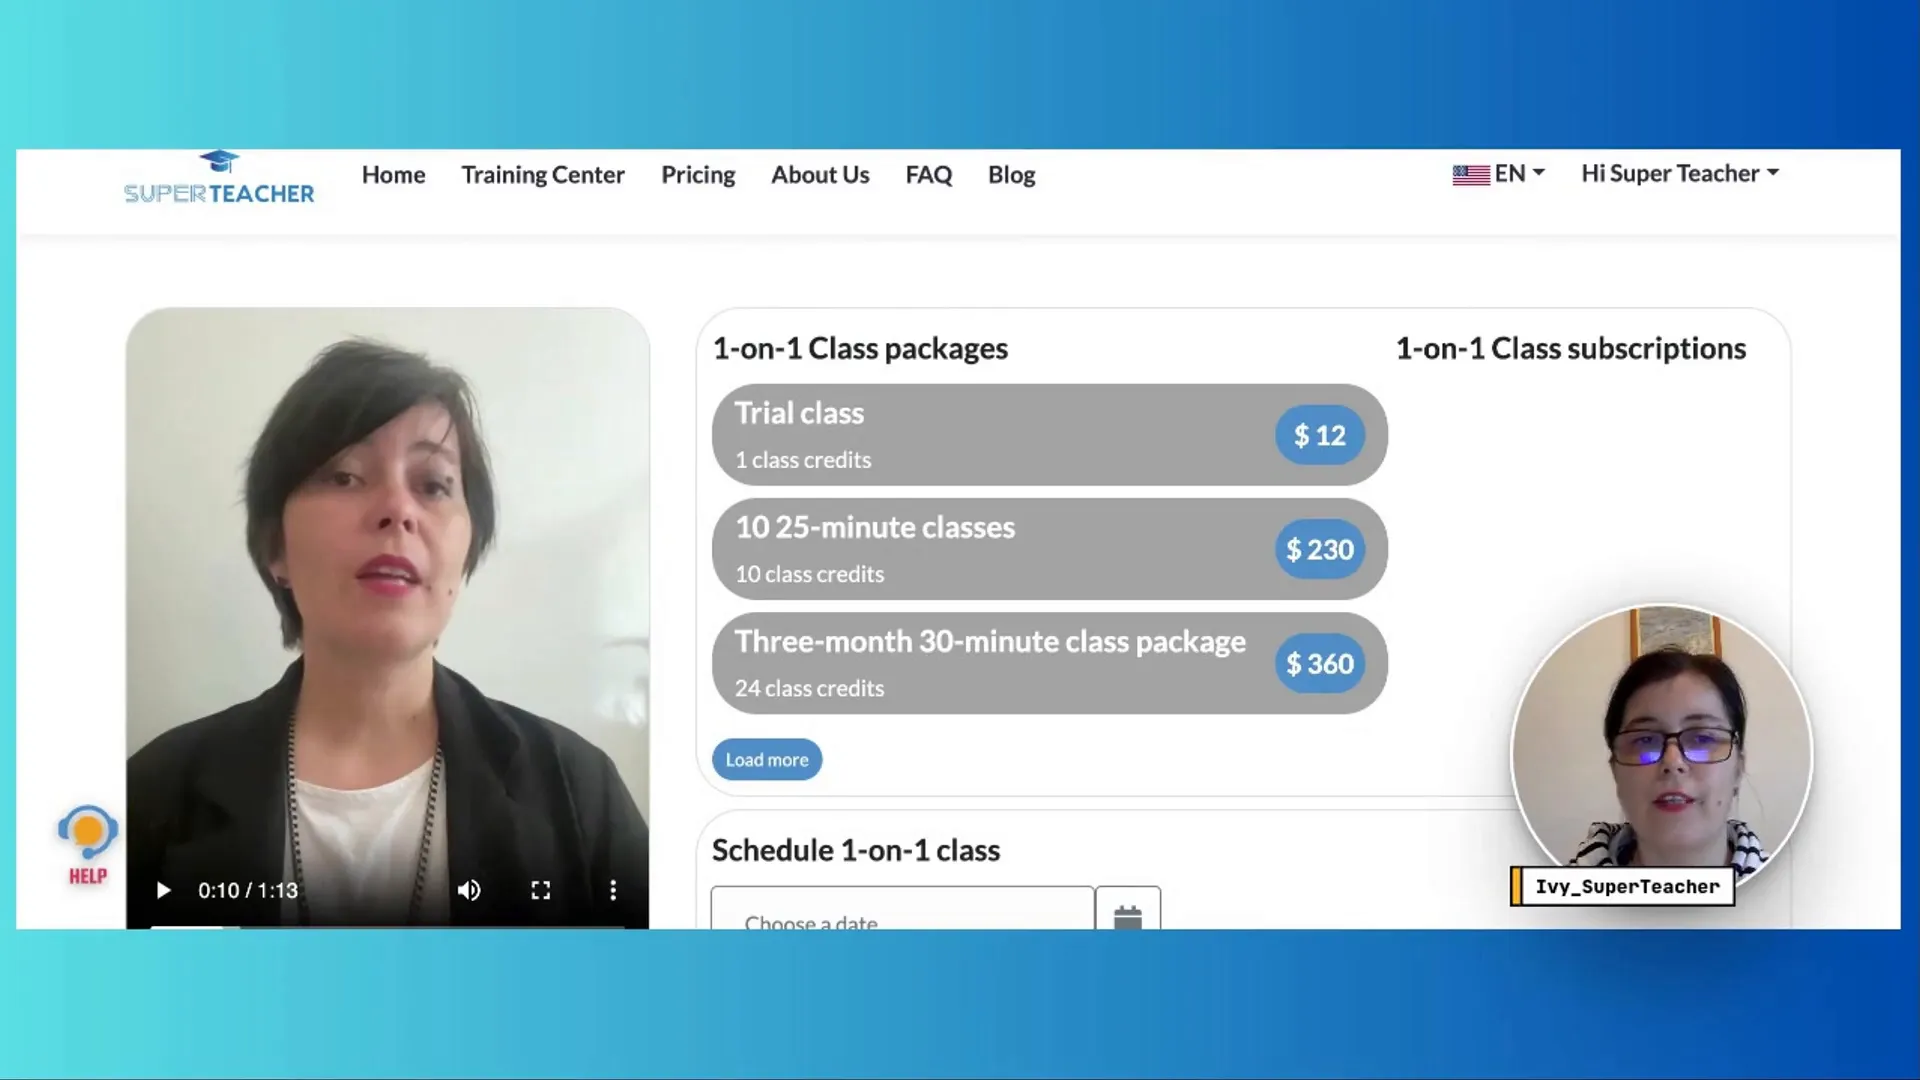
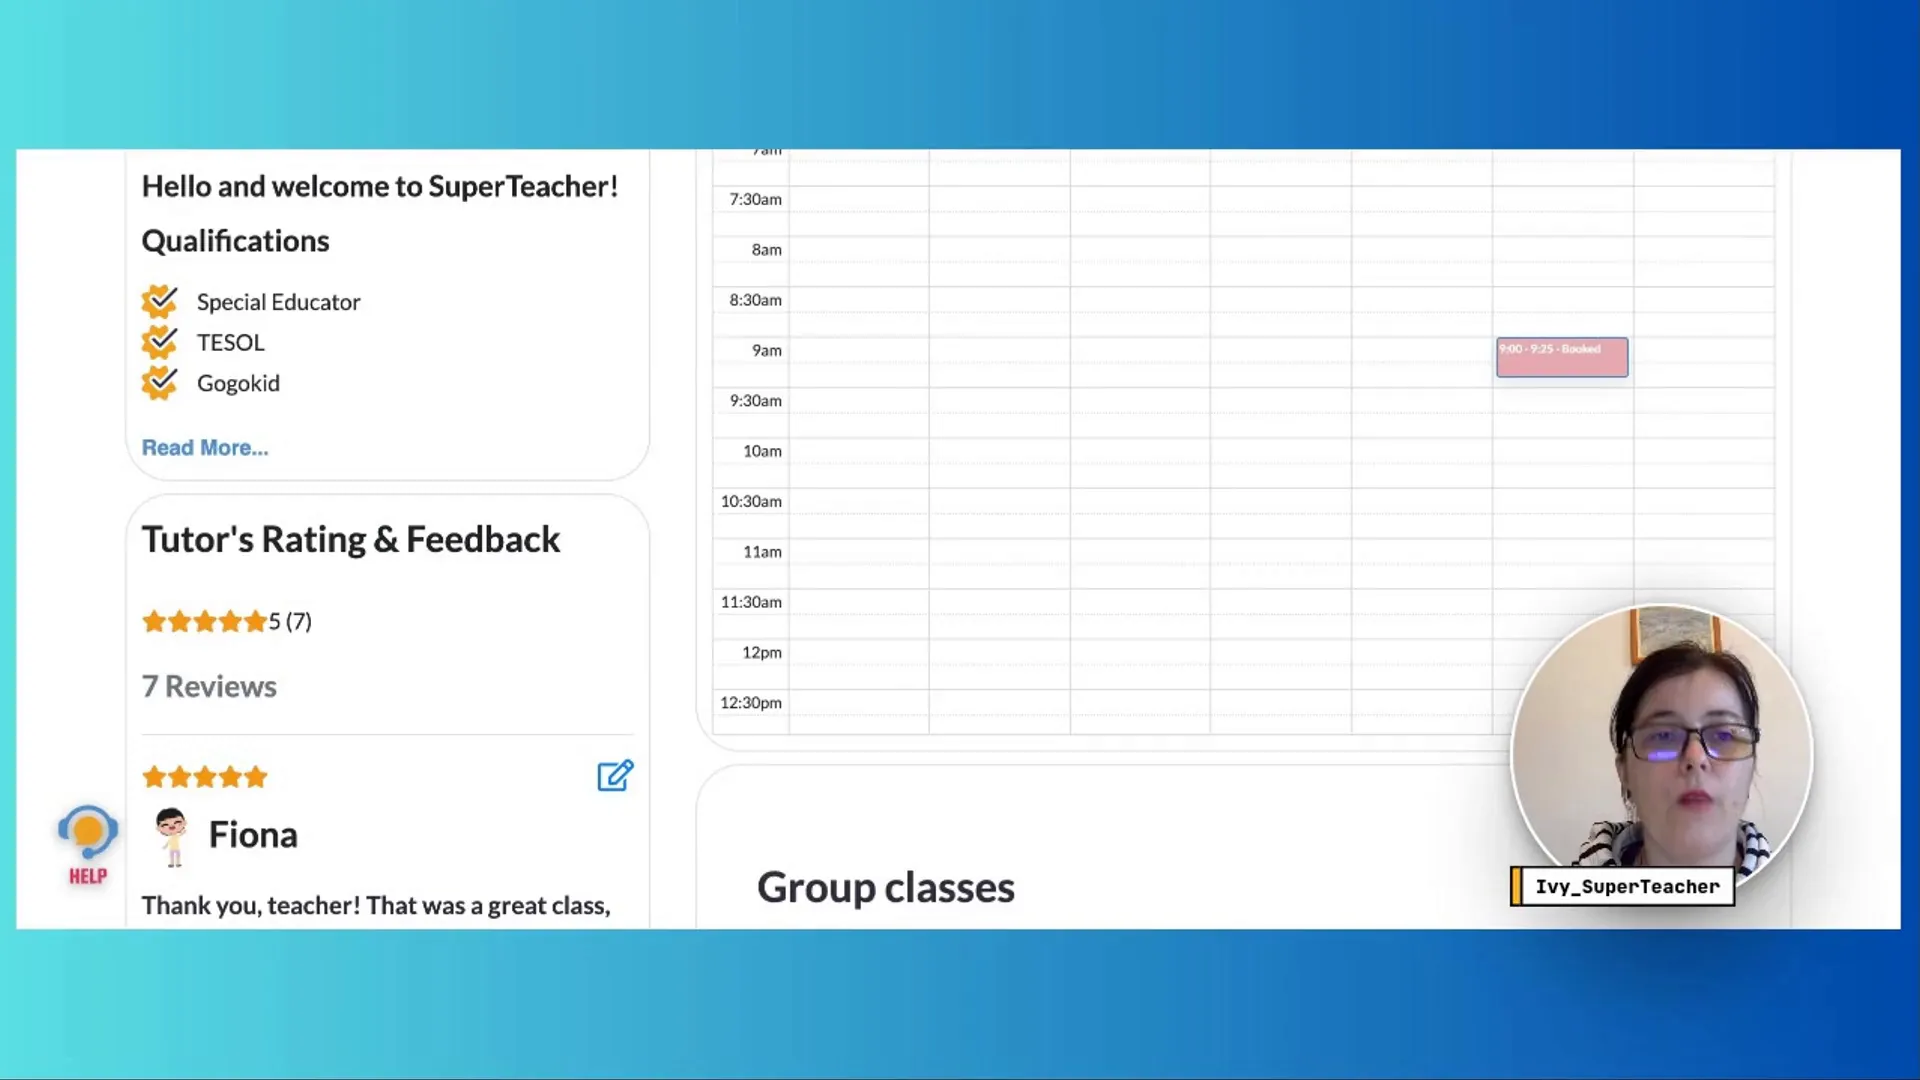
When students first land onto your SuperTeacher page, they’re greeted with your bio, available classes, and other relevant information. Your teacher page is designed following best marketing recommendations, making it super easy and user friendly for your students and prospects to navigate, purchase classes and digital products and book meetings with you in just a few clicks.
What Students See
- Your professional bio
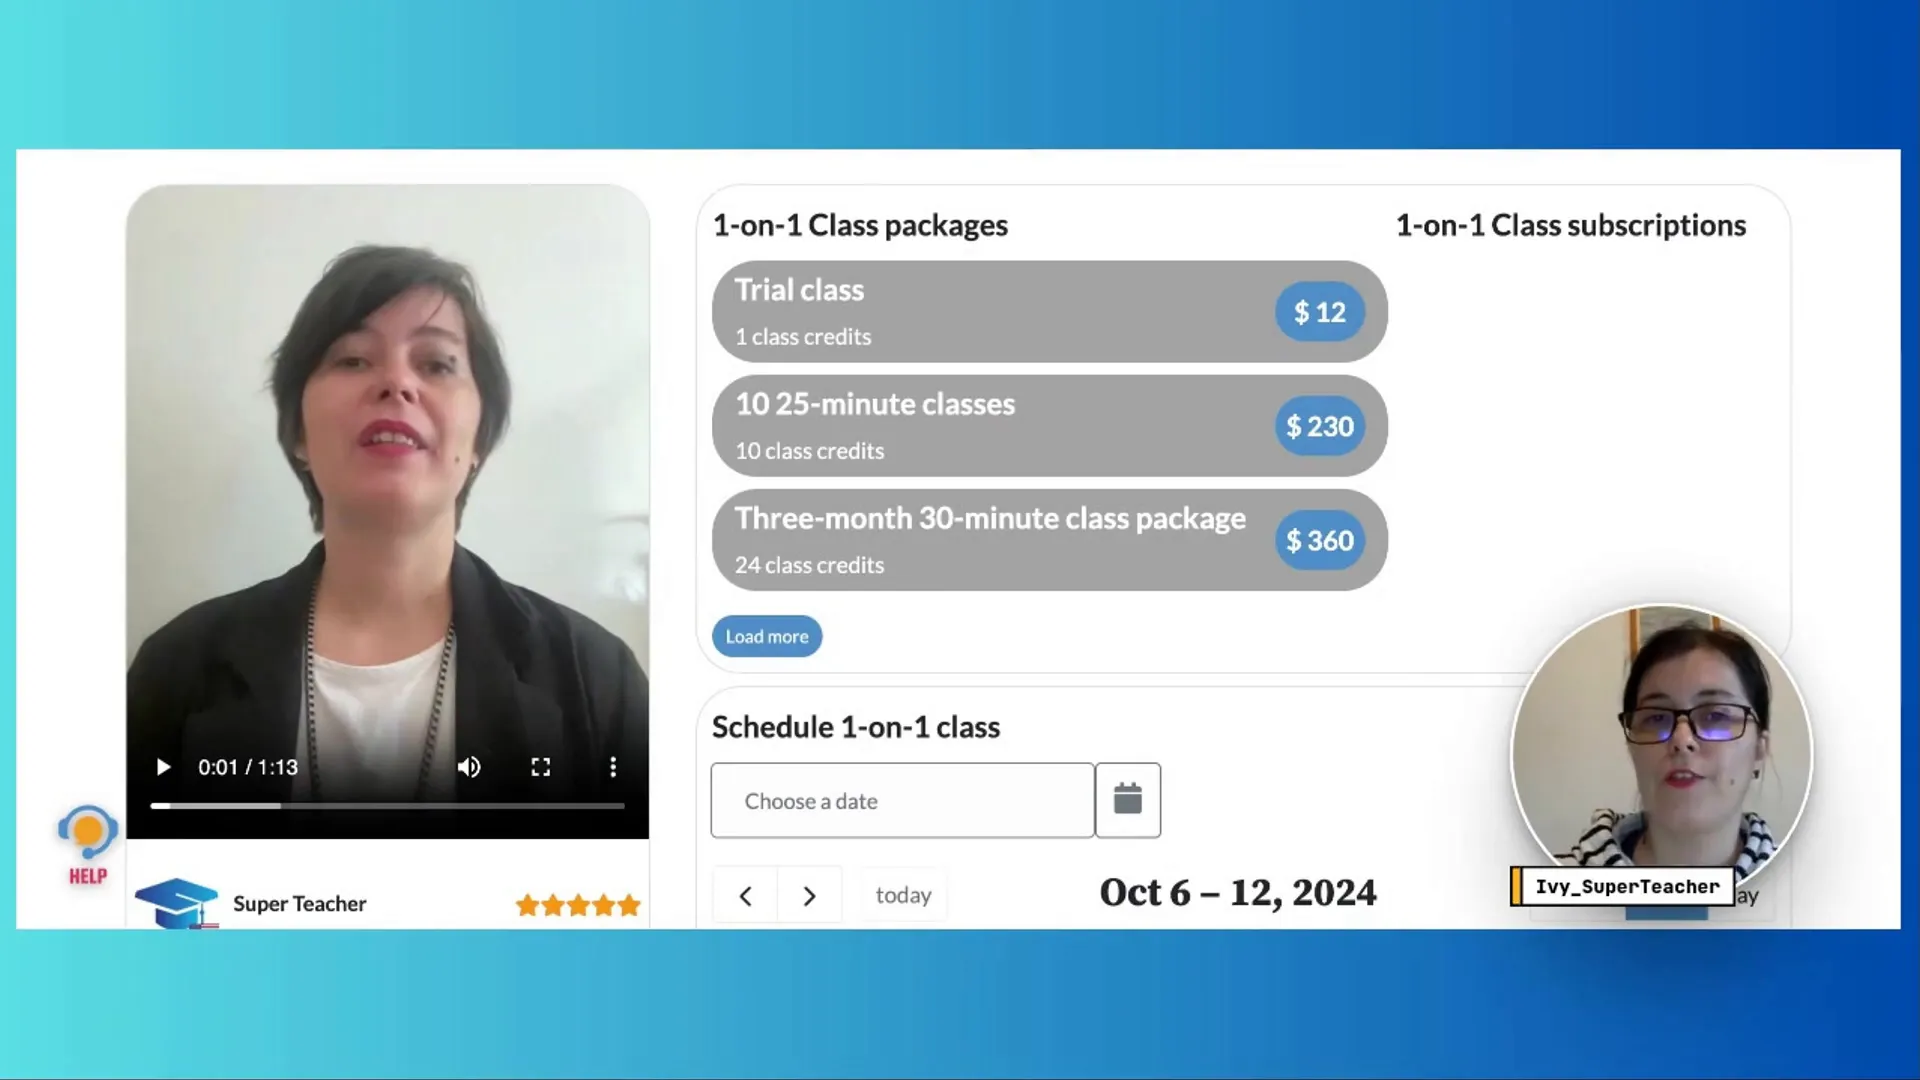
- Class packages and pricing
- Your availability for classes
- Any group classes or courses you offer
Navigating the Student / Parent Dashboard
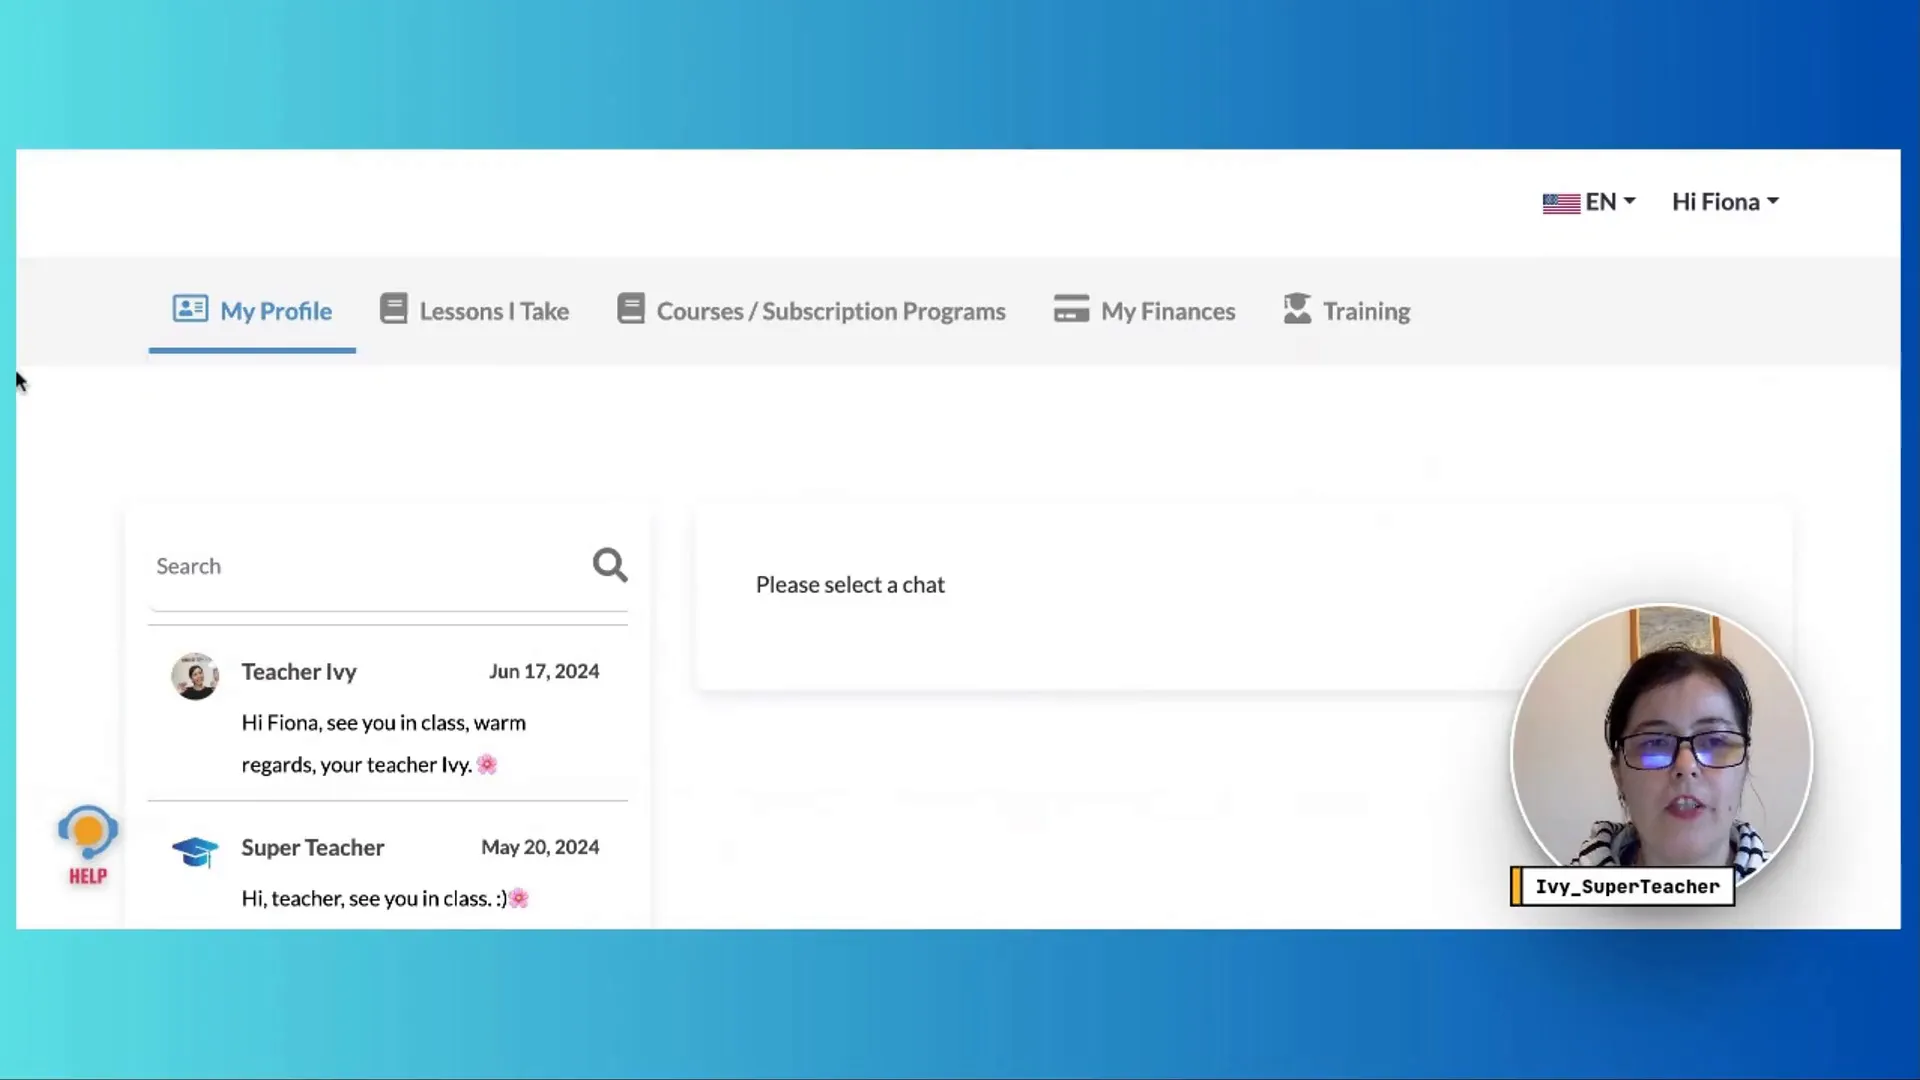
The student and parent dashboards are designed to be user-friendly, offering a simplified view that allows your clients to easily manage their classes and information. Similar to your teacher portal, it’s intuitive and straightforward.
Key Features of the Student Dashboard
- My Profile: Your students can edit their information and view class credits and certificates.
- Messages: A direct line of communication with you.
- Lessons: Manage class schedules, cancellations, and feedback.
- Finances: Track payment history and subscription details.
- Training Center: Access favorite classes and courses.
- Library and Help Center : helpful and fun resources available in Parents portal. To learn more about the parent portal, check out this blog post.
Purchasing Class Packages
Your clients can easily purchase class packages and services directly from your teacher page. The process is straightforward, allowing them to select their desired package and complete the transaction without hassle.
Steps for Students to Purchase
- Log into their client portal.
- Select the class package they wish to buy.
- If applicable, enter any coupon codes for discounts.
- Choose a payment method and complete the purchase.
Pro tip : Your clients can use any type of card (suitable for online payments), WeChat and Alipay. This is super neat if you teach or plan to expand into Chinese market.
Booking Classes: One-on-One vs. Group
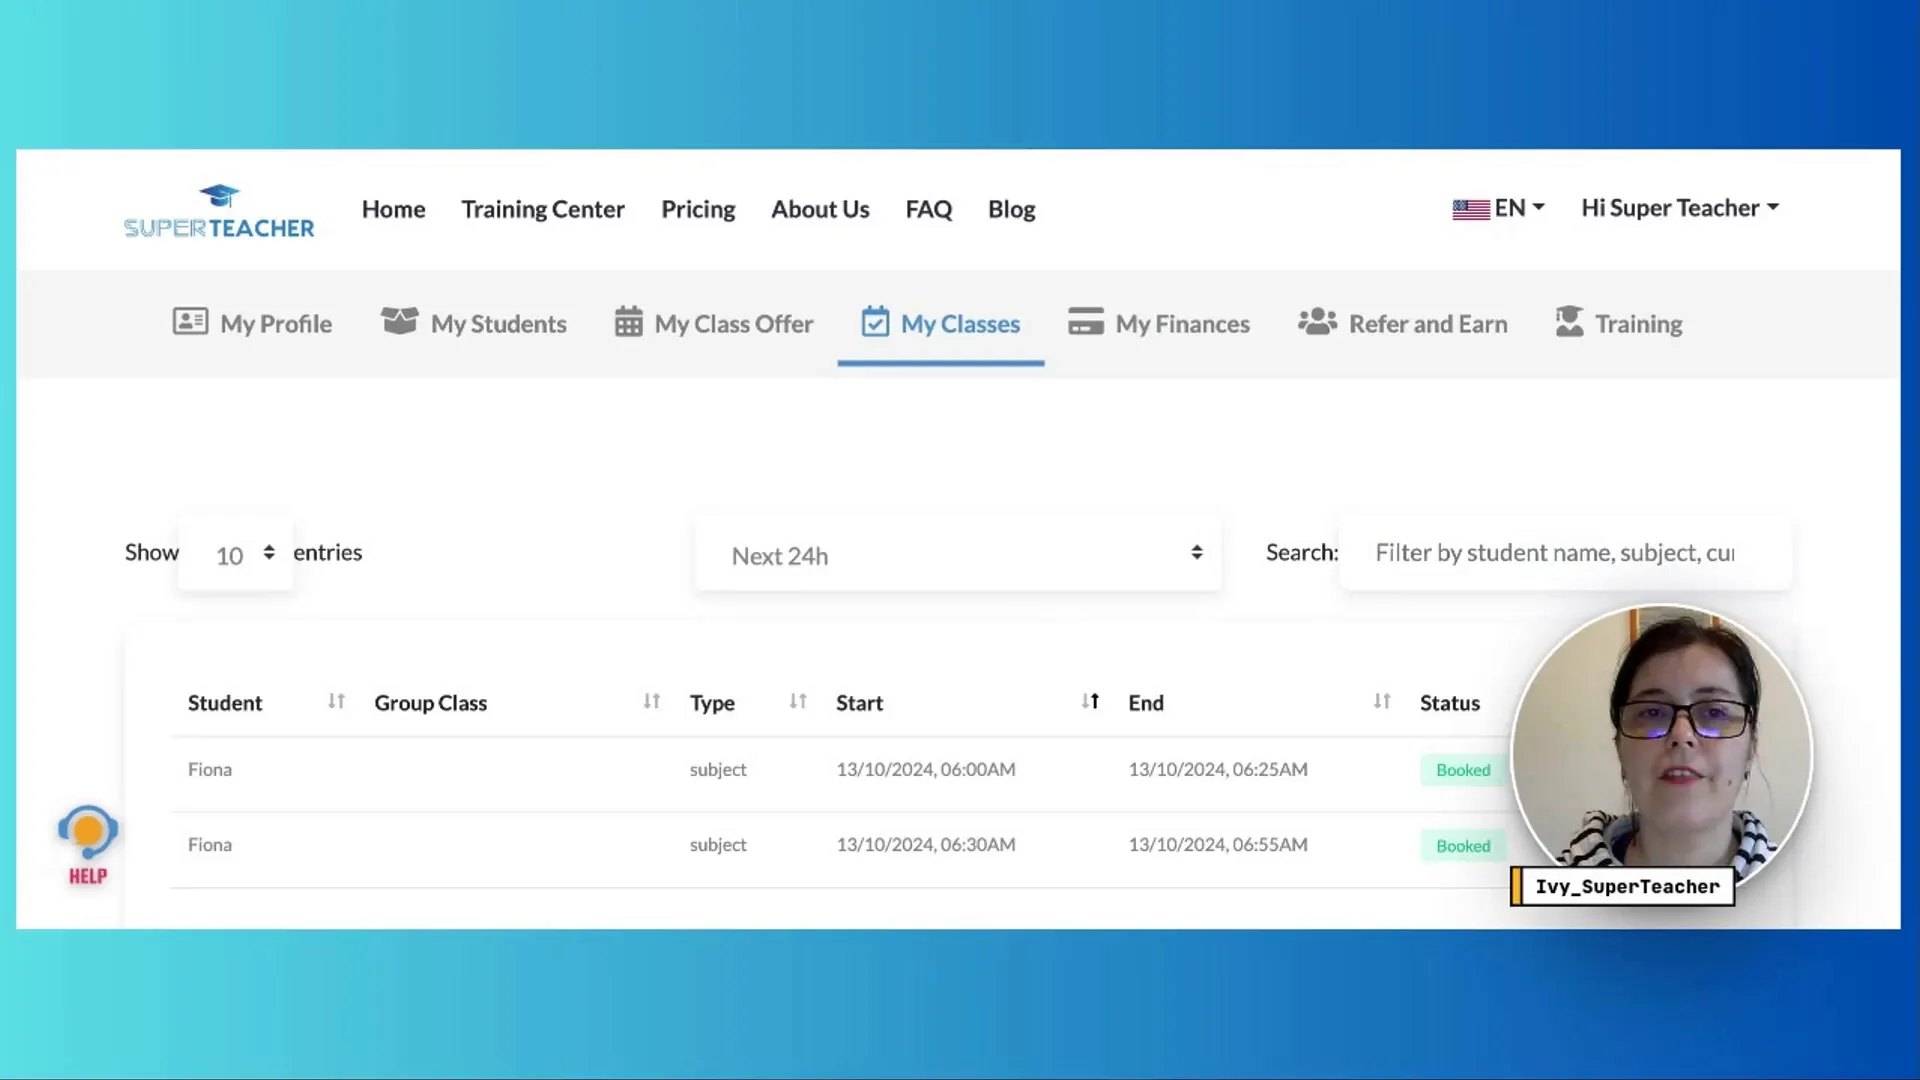
Once students have their class packages, they can easily book classes, whether one-on-one or in a group setting. Understanding the differences in booking processes can help streamline their experience.
Booking Process Overview
- One-on-One Classes: Both you and the student can schedule the class based on availability.
- Group Classes: Students are automatically booked into your schedule, simplifying the process.
Managing Class Schedules
Efficient class scheduling is vital for a seamless teaching experience. SuperTeacher provides a calendar system that allows both you and your students to manage class times effectively.
How Class Scheduling Works
- Student-Driven Booking: Students can book classes based on your availability, ensuring they find times that work best for both of you.
- Calendar Integration: Sync your schedule with Google Calendar (learn how to do so here) to avoid double bookings.
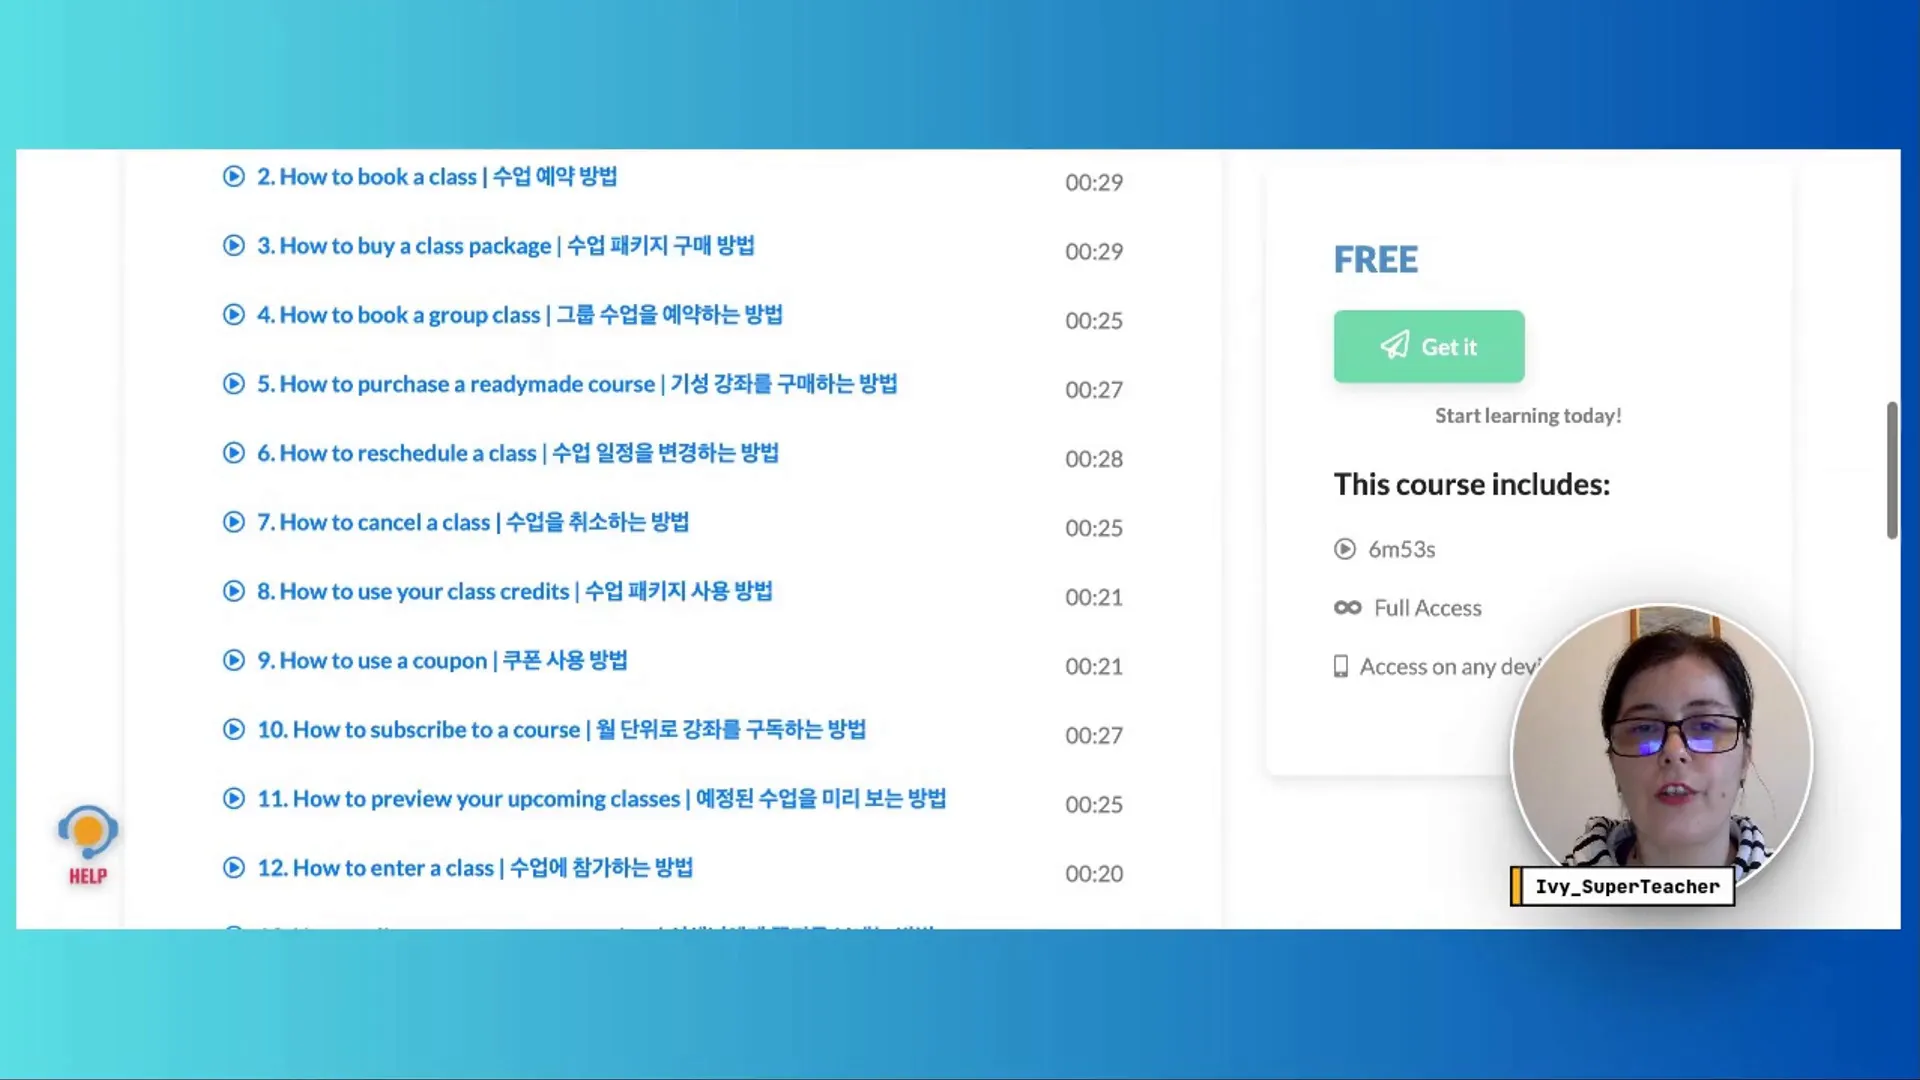
- Class Tracker: Students can view how many classes they’ve purchased and how many they have left to use. Transparency is what both SuperTeachers and their students love and really appreciate, as it helps build trust and ensures long-term retention.
Feedback Mechanism Between Students and Teachers
Feedback is essential for growth and improvement. SuperTeacher facilitates an easy feedback loop between you and your students, ensuring that both parties can share their thoughts and experiences.
How to Leave Feedback
- Class Completion: After each class, both you and your students can provide feedback on the session.
- Rating System: A star rating system allows quick assessments of classes.
- Feedback Notifications: Both you and your clients receive email notifications when feedback is submitted, promoting transparency and communication.
Subscription Plans and Payment Management
SuperTeacher offers flexible subscription plans that cater to different needs. Understanding how to manage payments and subscriptions is crucial for maintaining a smooth operation.
Understanding Subscription Plans
- Flexible Options: Choose between offering weekly or monthly subscription plans.
- Class Credits: Include class credits within subscriptions, which must be used within the subscription period.
- You can pause and postpone collecting payments in case you or your student need a break, a leave or in any unforseen circumstances.
Best Practices for Class Management
Effective class management is key to ensuring a productive learning environment. Here are some best practices to enhance your teaching experience on SuperTeacher.
General Class Management Tips – Good Practice
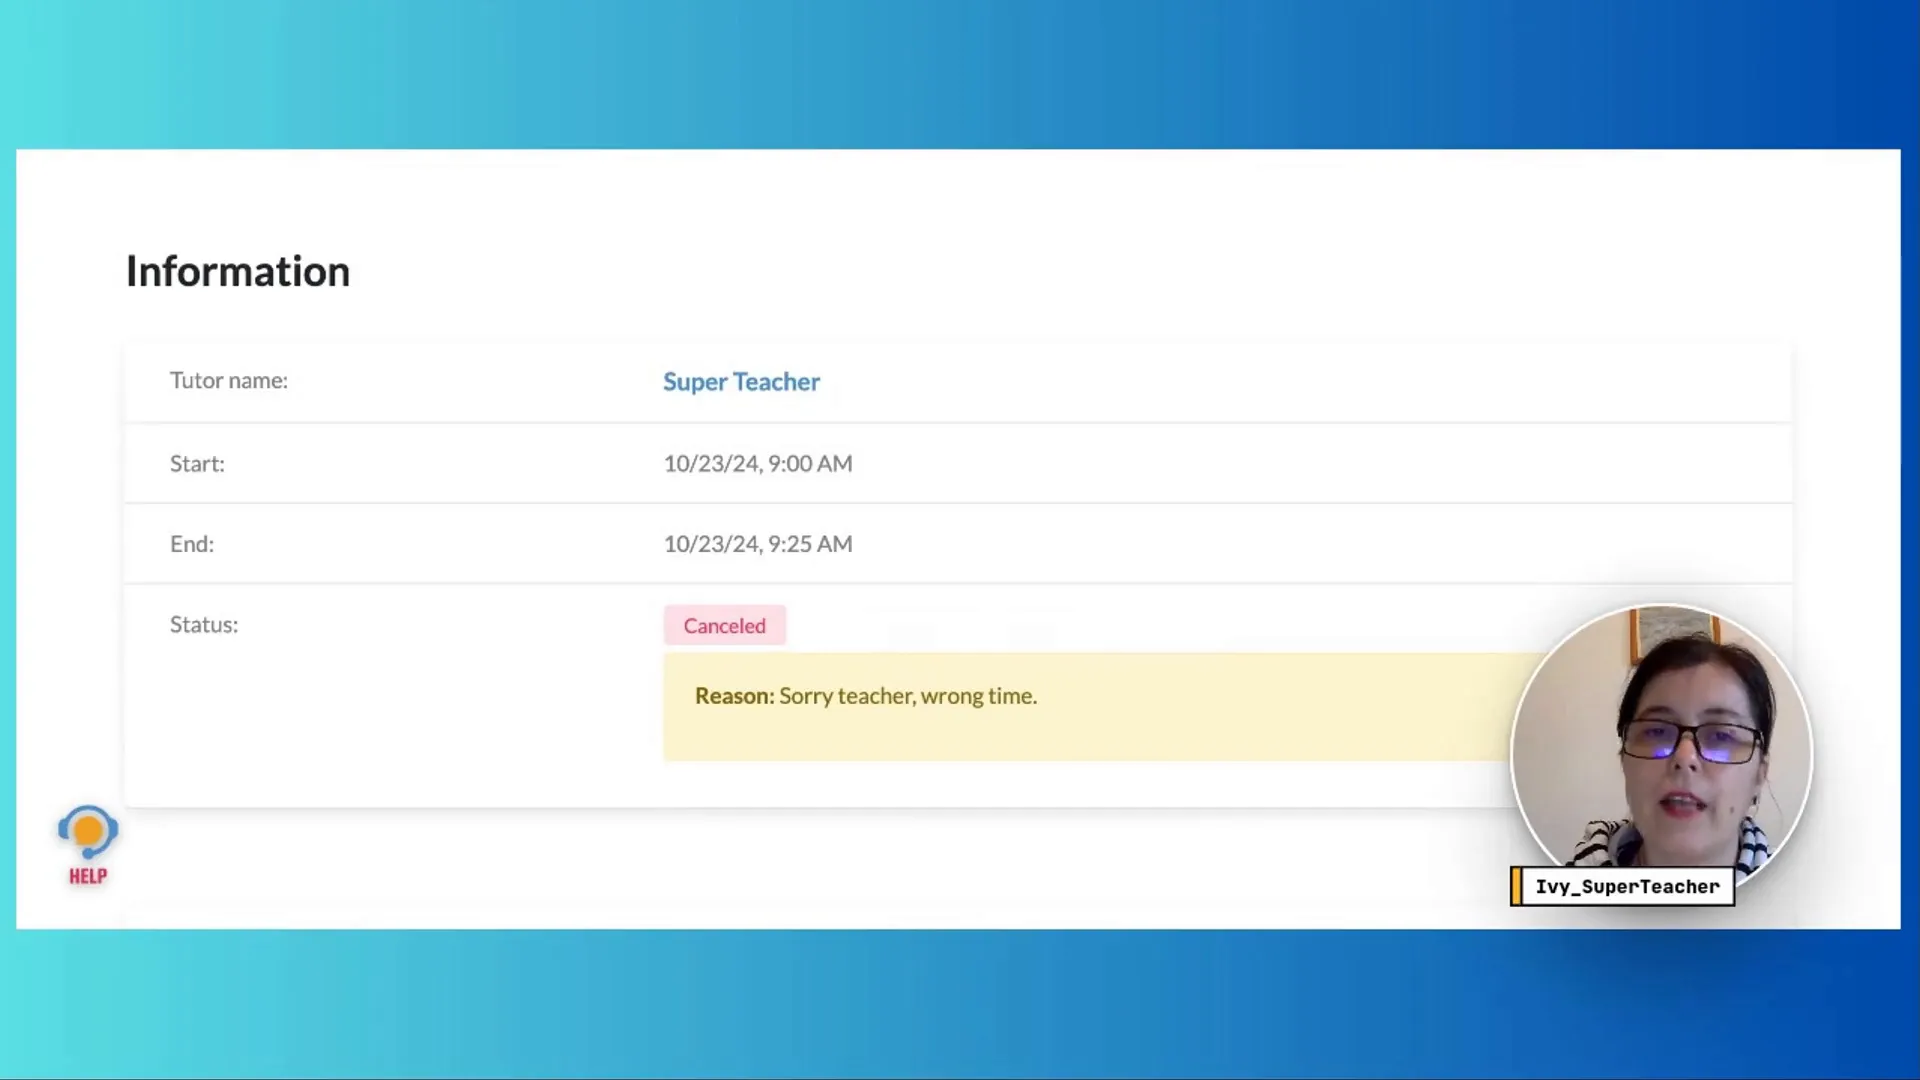
- Set Clear Policies: Establish class cancellation and rescheduling policies to avoid confusion. By default, SuperTeacher is always teachers-first oriented, allowing you to cancel and reschedule classes even last minute, while forcing your students to ask for permission to cancel if within 24 hour window. Neat, isn’t it?
- Encourage Self-Booking: Empower students to book their own classes to foster independence. We recommend booking their first class or a week worth of classes for them if they are not that tech savvy, while pointing them to SuperTeacher Guides to learn how to book and manage their classes.
- Utilize Feedback: Regularly leave and review feedback to improve your classes and teaching methods.
Creating a Demo Student Account
To fully grasp the SuperTeacher experience, consider creating a demo student account. This allows you to experience our platform from a student’s perspective first hand, making it easier to understand their flow and needs.
Steps to Create a Demo Account
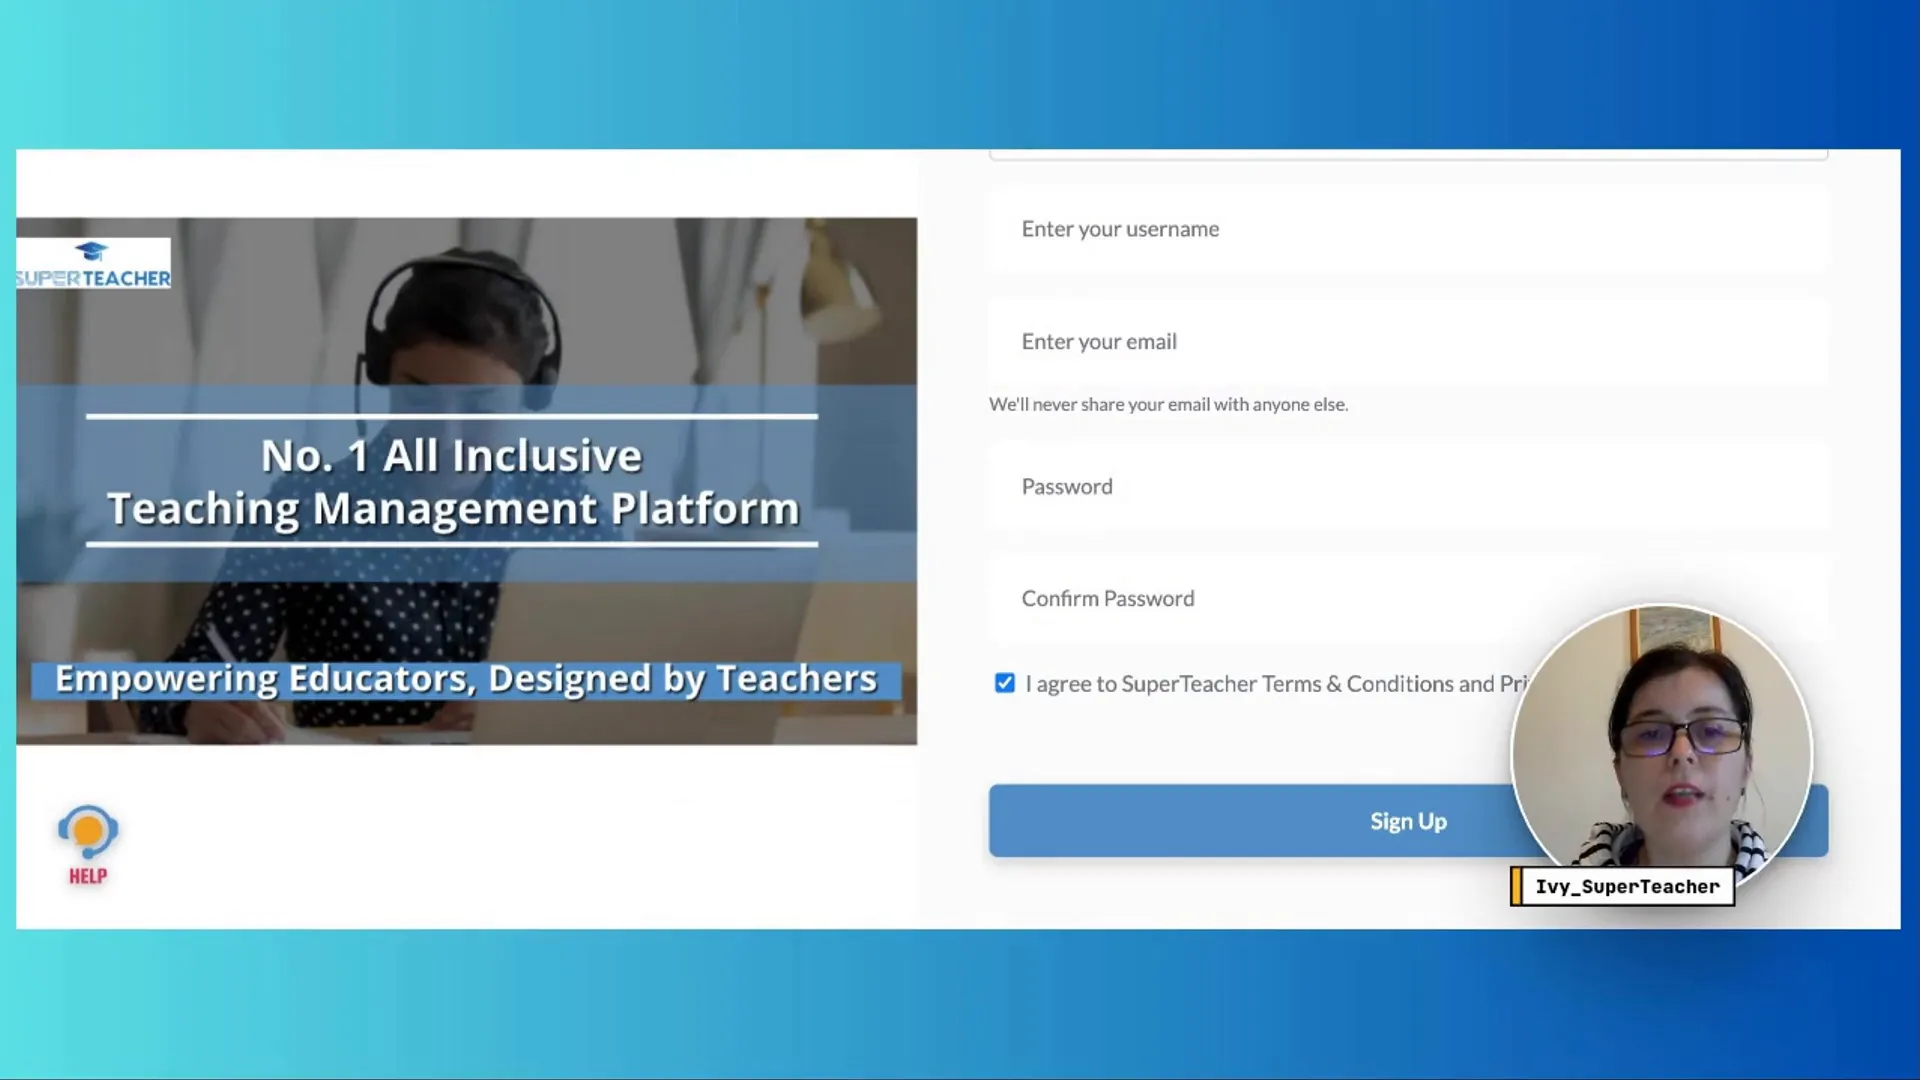
- Use your teacher page URL to sign up as a student.
- Fill in the required information and agree to the terms.
- Verify your email address.
- Log in and explore the student dashboard.
- Book class and explore all the features
Pro tip : SuperTeacher sends email notifications whenever your students book classes, cancel, purchase something or leave feedback – same goes for them! Yours is to just get set once and let it work for you. Happy teaching!


