Welcome to the SuperTeacher Parent Portal guide! Today, we’ll walk you through everything you need to know about utilizing the new Parent Portal, designed to make managing multiple students a breeze for your clients – parents. Whether you teach one child or several in a family, this Parent Portal enhances your clients’ experience by allowing efficient class management. Let’s dive into how to get started!
Step 1: Register as a Parent or Upgrade from Student to Parent Account
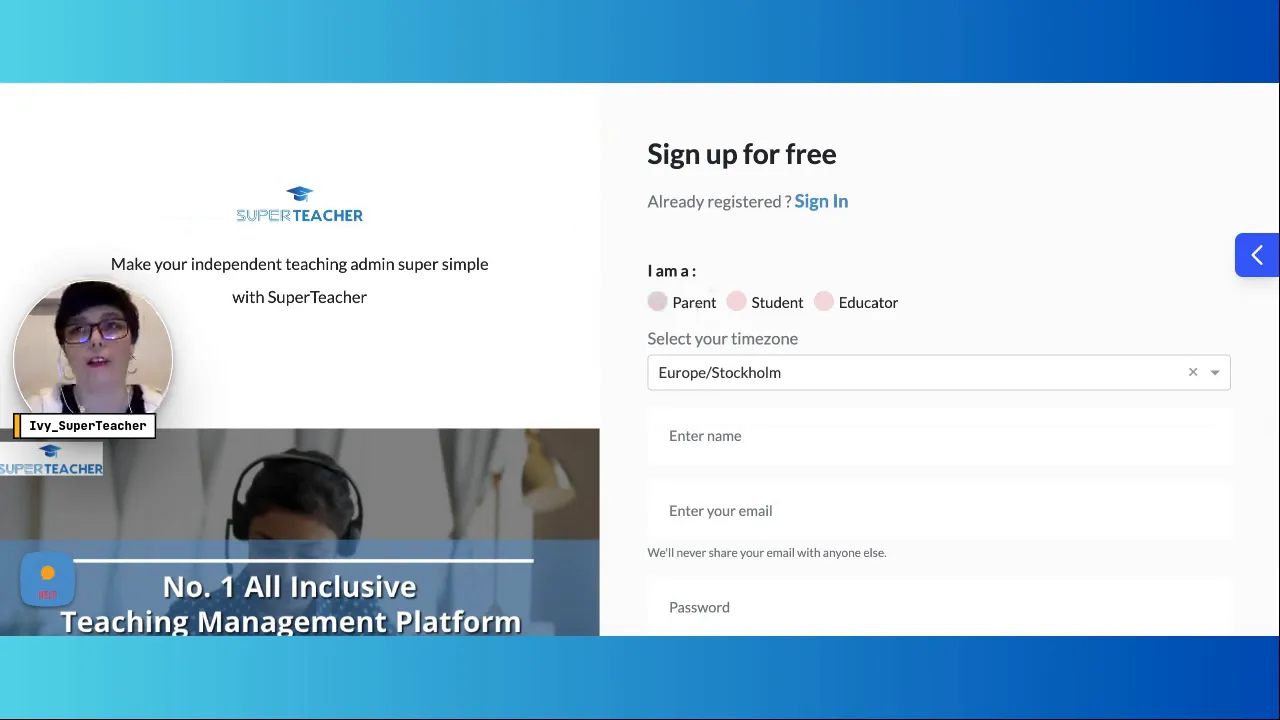
The first step in accessing the SuperTeacher Parent Portal is to either register as a parent, or upgrade from a Student to a Parent account in case you have active clients-parents (it is optional). Previously, the options for registration were limited to Students and Educators, but now there’s a dedicated Parent option. This is a significant upgrade designed to streamline the process for parents, especially those managing multiple students.
To register as a Parent, have your prospect go to the SuperTeacher sign-up page and select the “Register as a Parent” option. If they are already a registered Student, they can easily upgrade their account to a parent account, check the next chapter.
Alternatively : Upgrading from Student to Parent Account
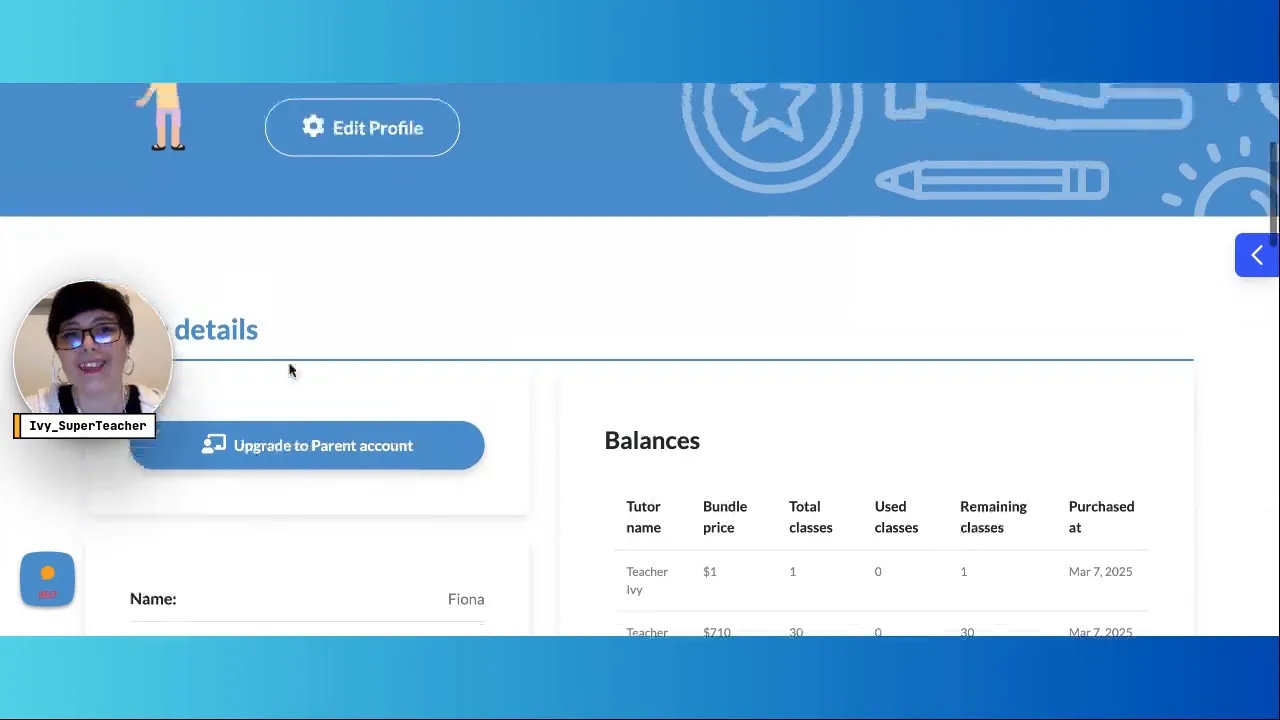
If your client already has a student account, upgrading to a parent account is straightforward. Have them simply log in to their existing student account and navigate to their profile settings. Look for the button that says “Upgrade to Parent Account.”
By clicking this button, they will seamlessly transition to the Parent Portal without losing any of their previous data—this includes class history, lesson feedback, class credits and other purchases. Everything transfers over with just one click!
Step 3: Adding Students
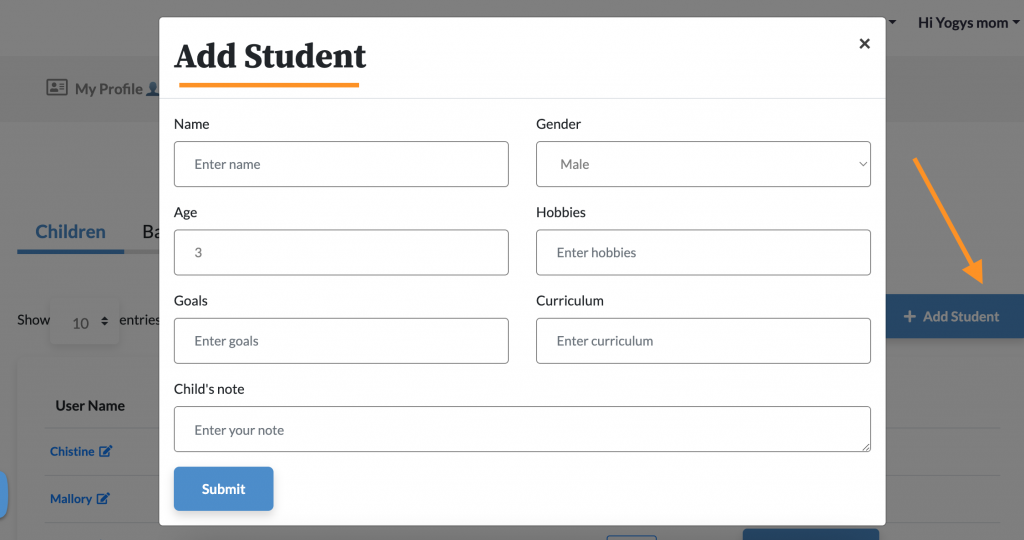
Once they are in the Parent Portal, they’ll see an option to add children as students. This is where they can input their child’s information. The only required field is the child’s name; other details are optional. For example, they might want to include their age and learning goals, but it’s not mandatory.
They simply fill out the form with your child’s name and any additional information you wish to provide, then hit “Submit.” This process allows them to efficiently manage their child’s classes and progress, especially when having more than one child enrolled in your classes – way easier to track by student’s name and have parental control over students’ accounts.
Step 4: Managing Class Packages
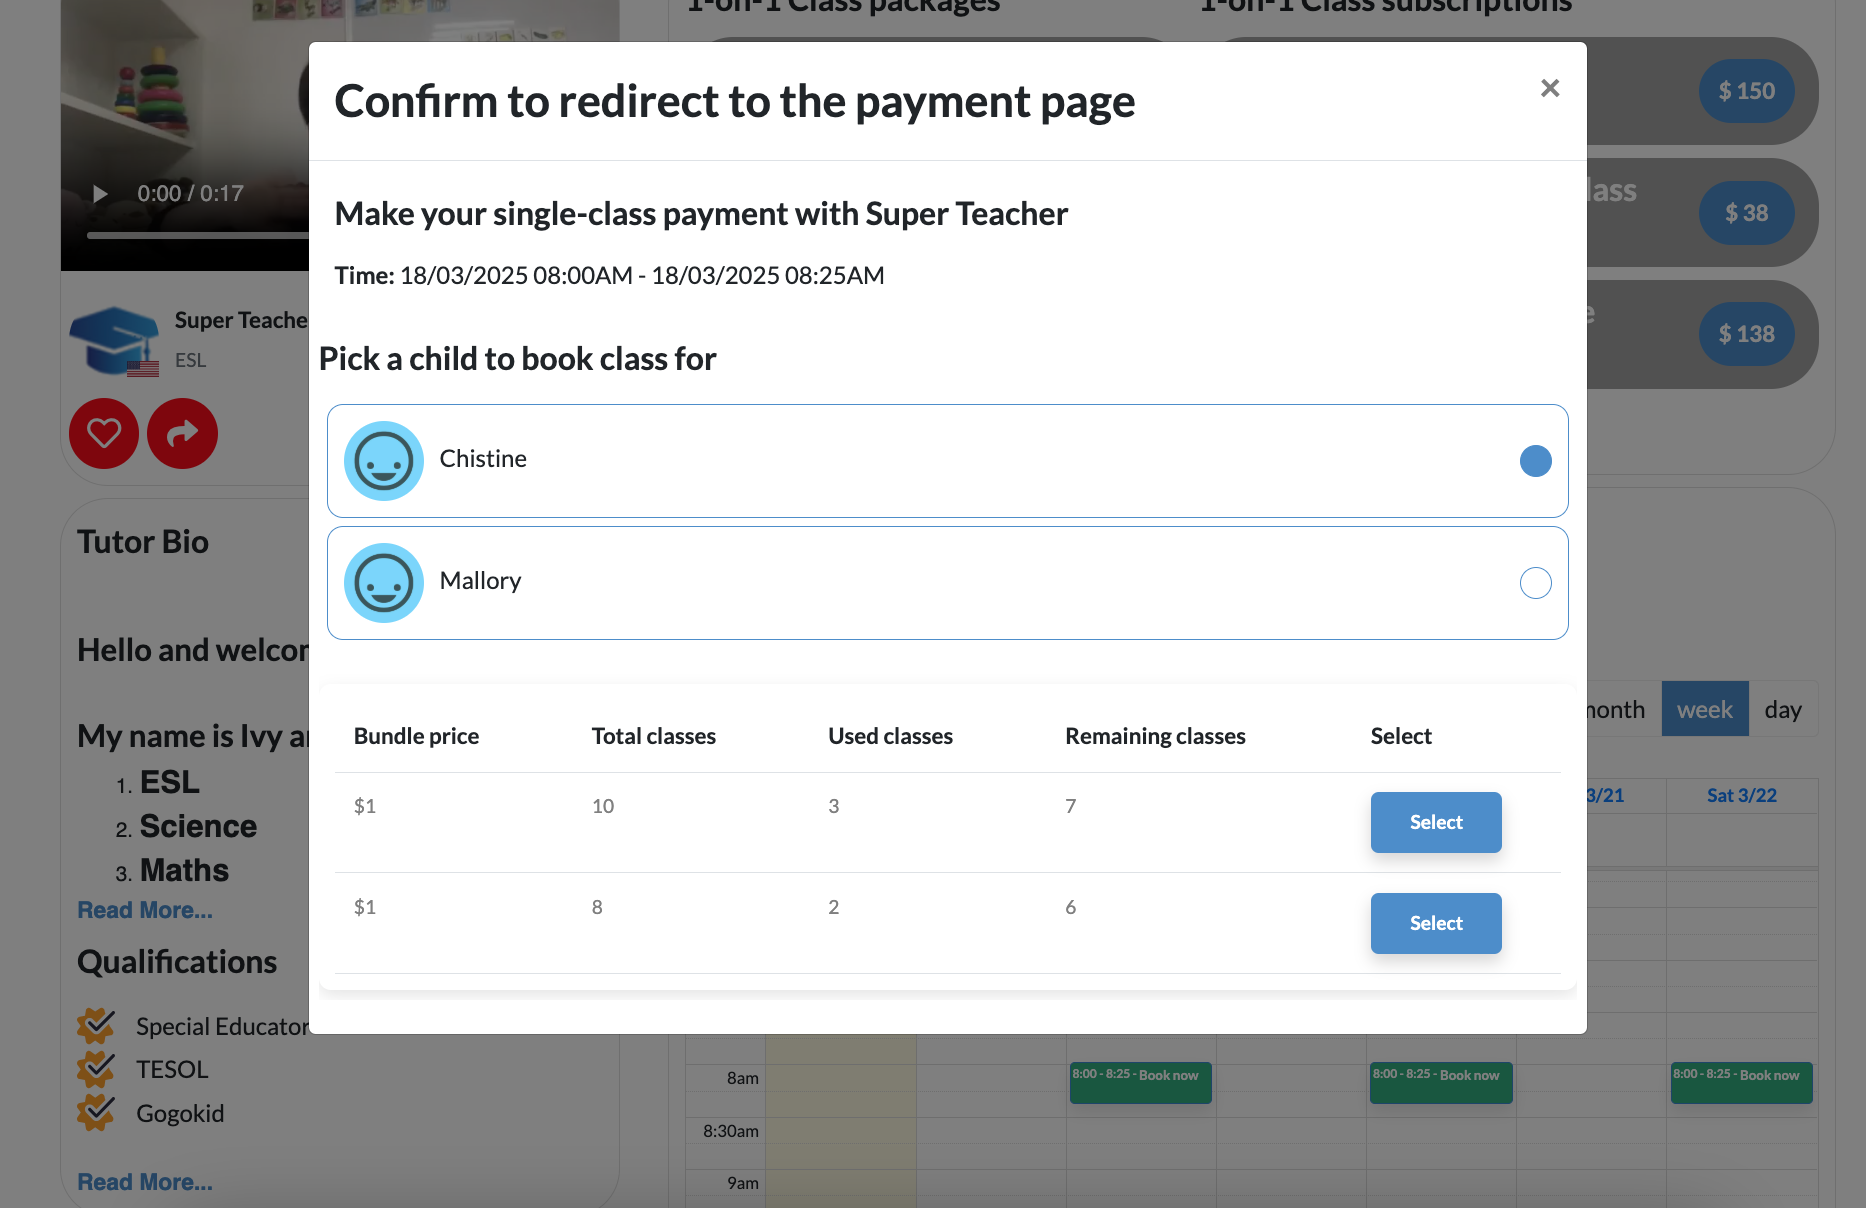
One of the key features of the Parent Portal is the management of class packages. As a parent, they can purchase class packages that are transferable between their children. This means if one child cannot attend a class, they can easily use those credits for another child without having to purchase a new package.
This flexibility is designed to make life easier for parents juggling multiple students on one hand, and speed up the class credits usage so you get them to renew packages quicker on the other hand. As before, both you and the parents can view balances and class packages right within the Parent / Teacher Portal, ensuring you always know what’s available.
Step 5: Booking Classes
Booking classes is also streamlined in the Parent Portal. When they select a class, they will now have the option to choose which child they are booking for. This makes it incredibly easy to manage schedules, especially for parents with multiple children enrolled in different classes. You as a teacher will finally be able to track your students’ attendance for each student individually.
Parents will now navigate to your teacher’s page, select a class slot, and specify which child they want to book. This feature ensures that they can also keep track of each child’s schedule without confusion.
Step 6: Utilizing the Library and Help Center
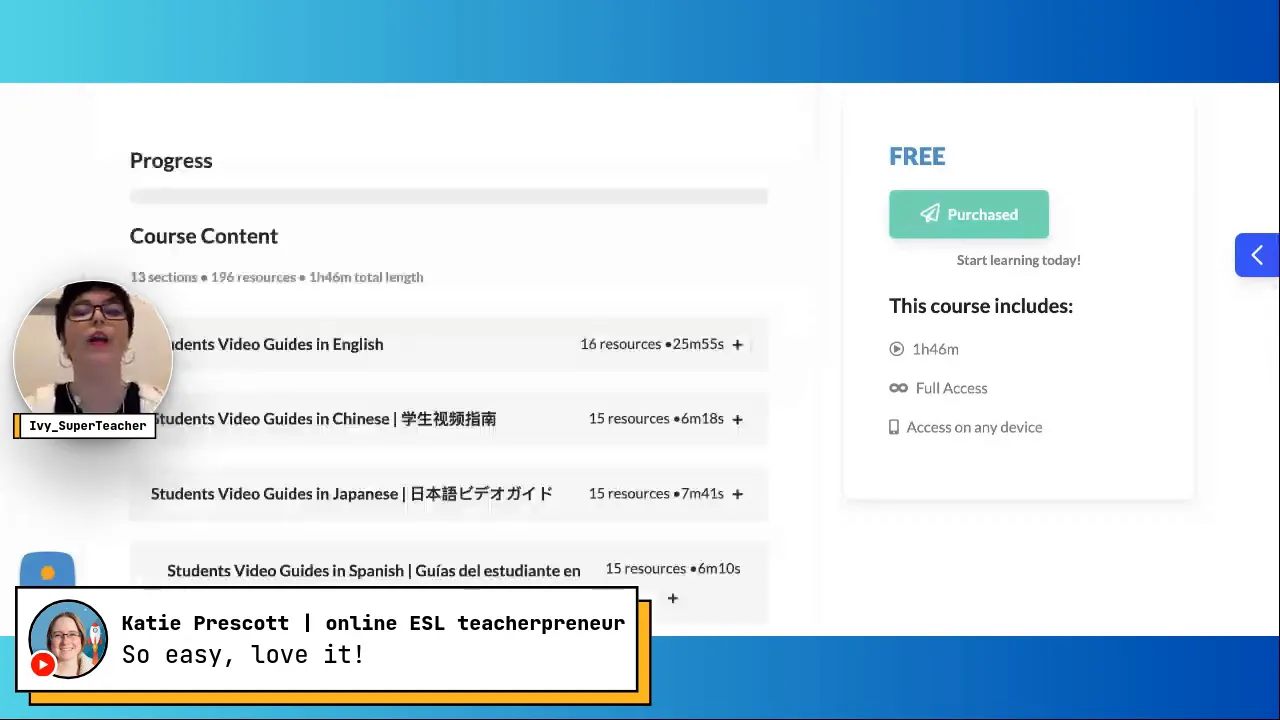
In addition to class management, the Parent Portal provides access to our brand-new Library and a Help Center. The library includes various educational resources such as worksheets, activity books, games, and songs that can enhance your child’s learning experience. If you would like to share learning material you created and make it available to parents, let us know at support@super-teacher.net, we would love to hear from you.
The help center is designed to assist parents with any inquiries regarding managing SuperTeacher and classes, making it easier to find information about signing up, booking classes, and more.
Step 7: Communicating with Teachers
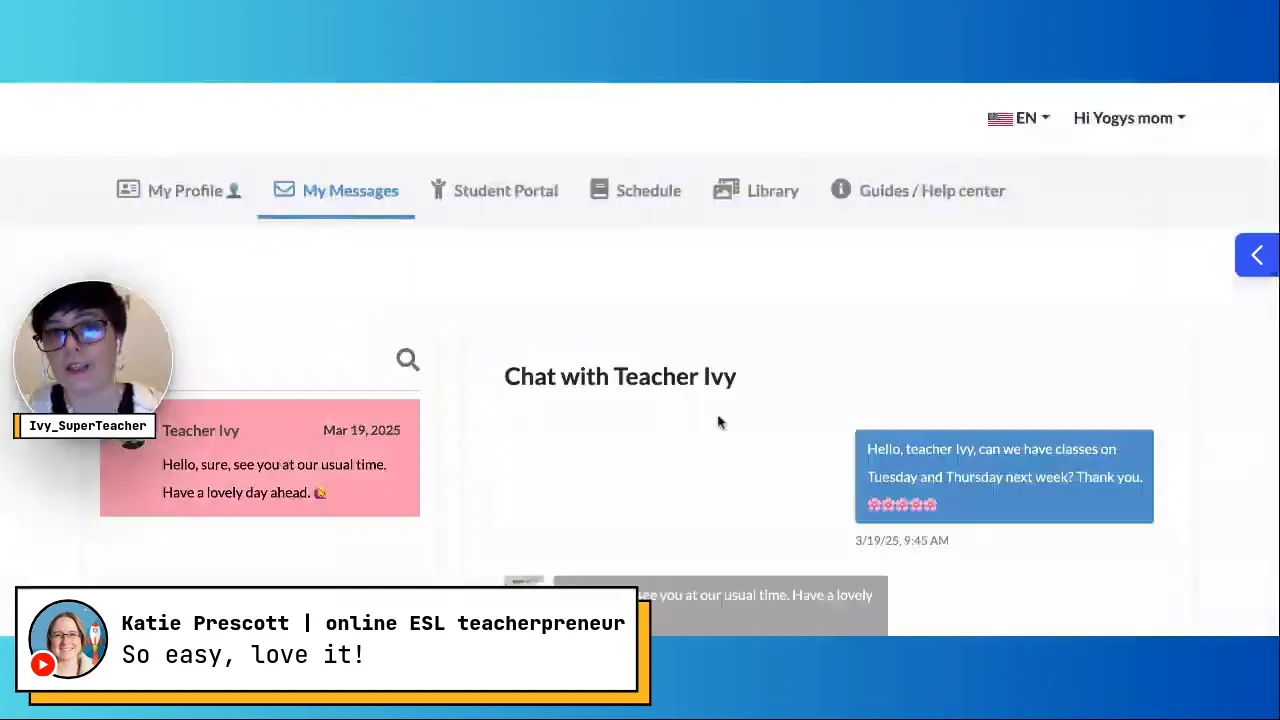
The Parent Portal also allows for easy communication with you as their teacher. There’s a built-in messaging feature where they can send messages directly to you. This is useful for last-minute class requests or any questions they might have.
Step 8: Navigating the Parent Dashboard
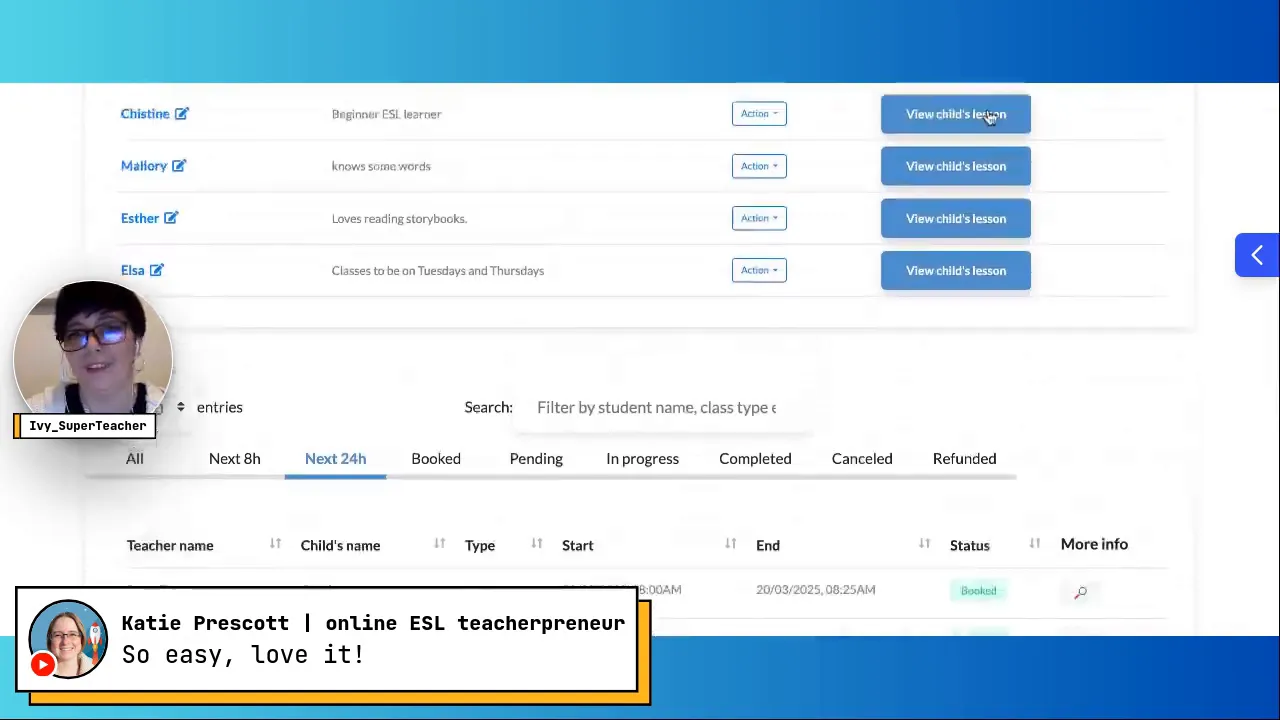
Once they’re in the Parent Portal, they’ll notice a user-friendly dashboard. Here, they can manage your children, view class schedules, and access their balances all in one place. The layout is intuitive and similar to the student account, making it simple to find what they need.
In their dashboard, they can filter classes by child or teacher, ensuring they have a clear overview of each child’s classes and activities.
Conclusion
The SuperTeacher Parent Portal is designed to simplify the management of your students’ education and parents’ class management, making it easier than ever to keep track of classes, schedules, and communication with you as their teacher. By following these steps, your clients-parents can seamlessly transition into using the Parent Portal and take full advantage of its features. Happy teaching!

